I will explain how to deploy Laravel on CyberPanel by connecting to a MySQL database in the LiteSpeed Web Server.
Before going any further, we should first get acquainted with the cyber panel. CyberPanel is one of the hosting control panels that is open source or free and is supported by LiteSpeed as a web server. There are several CyberPanel features that you need to know, such as:
- LSCache
- ModSecurity
- SSL
- DNS
- File Manager
- phpMyAdmin
- FTP
- and other features.
An introduction to Cyberpanel, for more about Cyberpanel, you can visit the official Website.
Step-1 Log in to CyberPanel Control Panel.
Login first in CyberPanel by accessing the URL EX: https//:your_server_ip:8090. Fill in the username and password correctly. If successful, it will redirect to the CyberPanel dashboard page.
Step-2 Create Website
Create a new website. Select the main menu > Websites > Create Website.
or
Open the main menu > Websites > List Websites. Then it will display the Website that we created earlier.
Step-3 Set Up SSH Access
We will install Laravel by logging into the server via SSH.
To get a username to log in to SSH, please enter your desired Website, then select Set Up SSH Access.
Step-4 Log in to SSH
Log in to SSH; if you are in using Linux, please open a terminal; if you are in widows, you select as you like ex; putty; MobaXtram; and run the following command.
ssh username@domain_nameStep-5 Create a laravel project
Create a laravel project; in this example, I give the project a name blog, and run the command as follows. It’s good practice to install laravel outside your public_html folder.public_html Folder is the default folder or root location of your Website.
composer create-project laravel/laravel blogIf you have finished installing laravel, you can check if there is a folder. blog using
ls -llStep-6 Move Public folder files
Copy all Files from the laravel public folder to the public_html folder.
*Delete the default index.html file from the public_html folder. If you check the browser, you see a 500 error.
Step-7 Laravel 500 error solution
Change the following line codeif (file_exists(DIR.'/../storage/framework/maintenance.php')) {
require DIR.'/../storage/framework/maintenance.php';
}
becomeif (file_exists(DIR.'/../blog/storage/framework/maintenance.php')) {
require DIR.'/../blog/storage/framework/maintenance.php';
}
Change the following line code.require DIR.'/../vendor/autoload.php';
becomerequire DIR.'/../blog/vendor/autoload.php';
Change the following line code.$app = require_once DIR.'/../bootstrap/app.php';
become$app = require_once DIR.'/../blog/bootstrap/app.php';
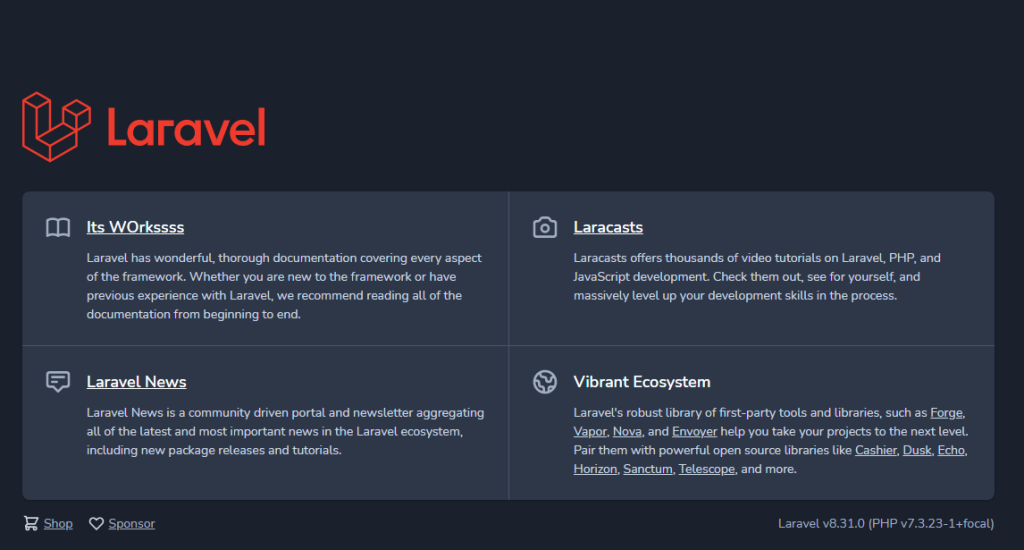
If you check now, you can see the laravel welcome page.

Step-8 Database Creation
Create a MySQL database by selecting the Main > Databases > Create Database menu.
Step-9 Database Connection
Add database connection into the .env file located inside the laravel project. Now, if you want to do database migration, useing php artisan migrate